Welcome to How To – our new weekly feature that will explain how to use both well-known and lesser-known features on the PlayStation 4, PlayStation Vita, and the PlayStation 3. Oftentimes, functions on these systems can be confusing to use or even worse hidden away and go completely unnoticed.
While Sony has revolutionized sharing gaming content with the PlayStation 4 Share button, the ability to take screenshots is also included in the PlayStation Vita. Keep reading to see a step-by-step guide on how to take PS Vita screenshots.
How To – Take A Screenshot on the PS Vita
1). Make sure you have available memory for your screenshots (Either SD or Internal)
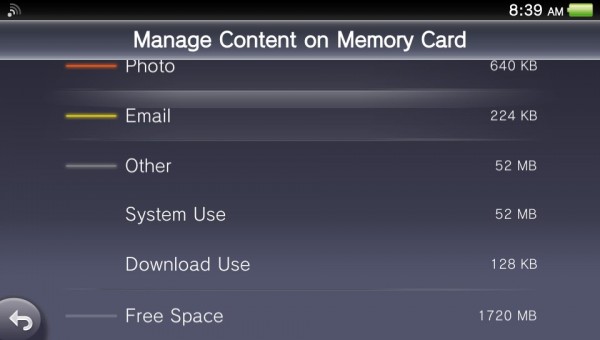
- You can check your available memory using the Content Manager App
- Each screenshot will be approximately 100-150 KB
2). Go to the screen or game where you would like to take the screenshot. Press the PS Button and the Start Button simultaneously. If done correctly, the screen will flash white (like a camera flash) and your screenshot will be saved.
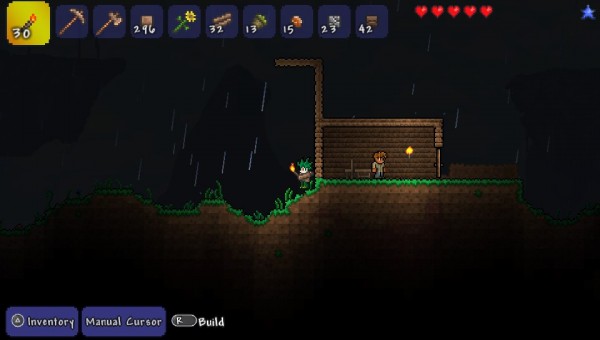
- Example of a screenshot from in-game
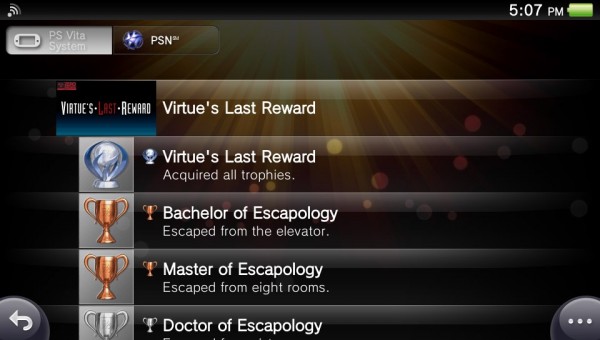
- Showing off trophies
3) Your screenshot is now available in the Photos App. Here you can resize your screenshots and share them via PSN Message or Email.
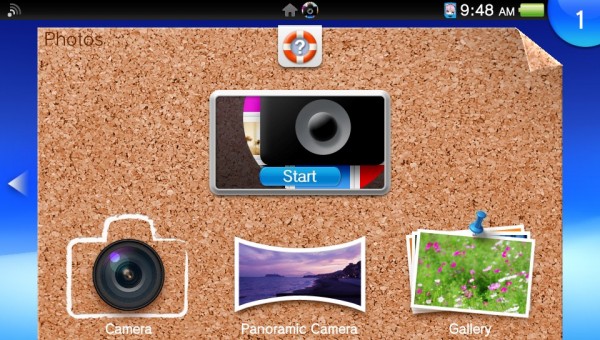
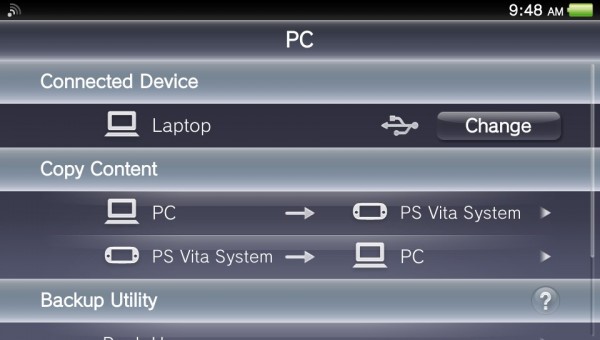
4) You can also save your photos to a PC or the PlayStation 3 using the Content Manager. This can be done either through WiFi or using a USB connection.
You should now be able to easily take and share your PS Vita screenshots. Thanks for reading our first entry of ‘How To -”
Discuss:
Do you have any suggestions for future editions of ‘How To -‘ ?

You must be logged in to post a comment.